There are a few things you need to take into consideration when painting a motorcycle helmet. The type of paint, the design, and the level of detail involved all play a role in how your finished product will look. Here are some tips on how to get started.
Before you begin, you’ll need to gather your supplies. You’ll need a good quality helmet that has been properly cleaned and sanded, primer, paint, clear coat, and any other materials needed for your design (stencils, etc). Once you have everything gathered, you can start prepping your helmet for painting.
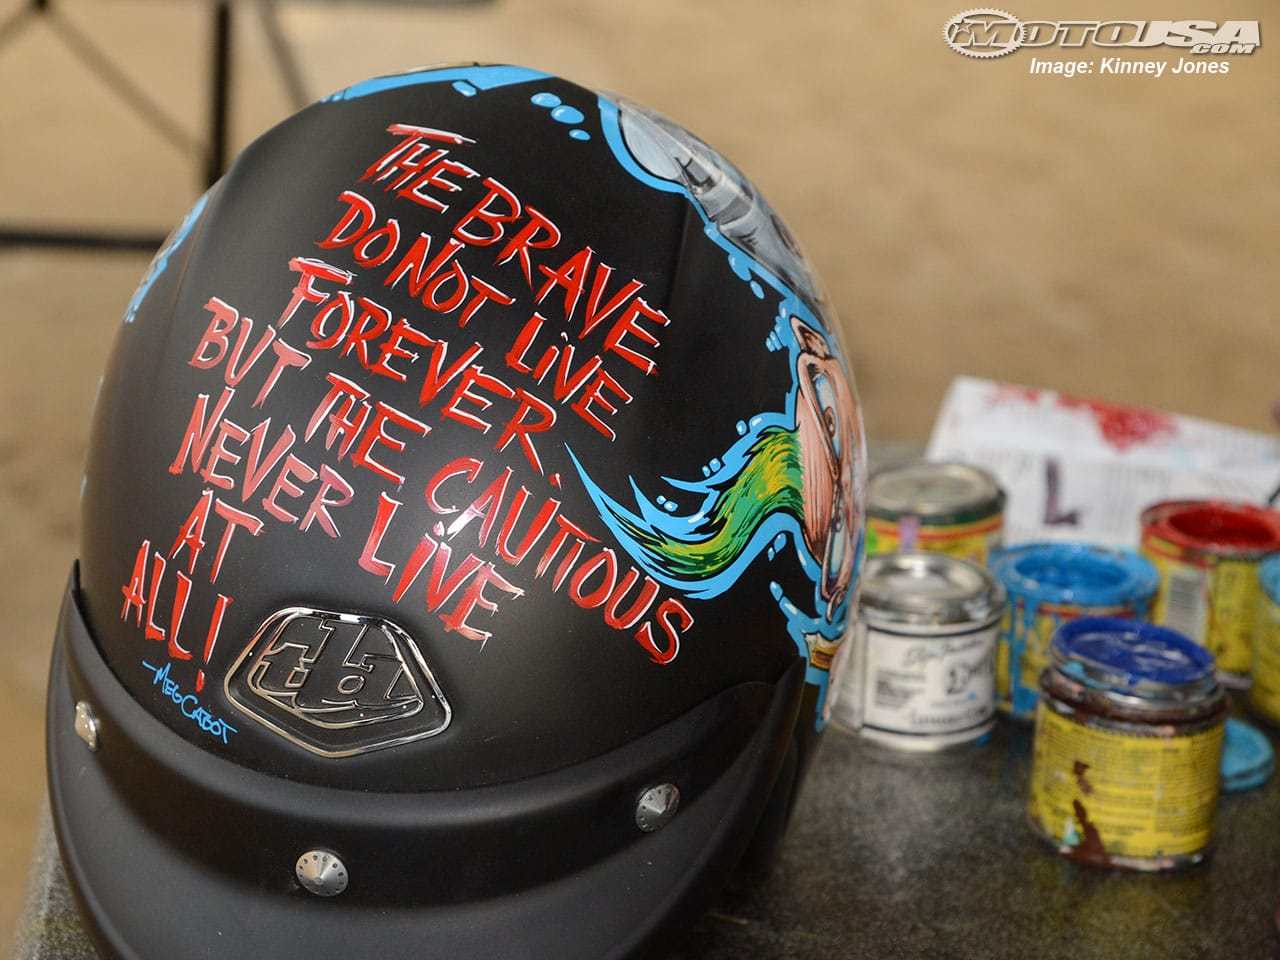
- Choose the paint you want to use for your motorcycle helmet
- You can either use spray paint or regular paint
- If you decide to use regular paint, make sure it is specifically made for plastics
- Clean the helmet with soap and water to remove any dirt or grease
- Allow the helmet to dry completely before painting
- Tape off any areas of the helmet that you do not want painted
- This might include the visor, straps, and padding inside the helmet
- Apply a primer to the entire surface of the helmet if you are using regular paint
- This will help the paint adhere better to the plastic surface of the helmet
- Begin painting your motorcycle helmet starting with light coats of paint and working your way up to heavier coats until you achieve desired coverage and opacity
- Be sure to let each coat of paint dry completely before adding another layer on top

Credit: www.youtube.com
What Kind of Paint Should I Use to Paint a Motorcycle Helmet?
When it comes to painting a motorcycle helmet, the kind of paint you use is important. You want to make sure that the paint is durable and will not chip or fade easily. Here are some tips on what kind of paint to use when painting a motorcycle helmet:
– Use a high quality acrylic enamel paint. This type of paint is specifically designed for automotive applications and has superior durability.
– Apply several thin coats of paint rather than one thick coat.
This will help prevent runs and drips.
– Allow each coat of paint to dry completely before applying the next one.
– If possible, bake the painted helmet in an oven at low temperature (200 degrees Fahrenheit) for 30 minutes to cure the paint and further increase durability.
Is It Ok to Paint a Motorcycle Helmet?
If you’re considering painting your motorcycle helmet, there are a few things you need to take into account. First and foremost, it’s important to make sure that the paint you choose is durable and won’t chip or fade easily. You’ll also want to consider the type of paint you use.
Enamel paints are typically used for painting helmets, as they provide a high-gloss finish that will last for years. However, if you’re looking for something a little more unique, you can always go with a custom airbrush design. Just be sure to consult with a professional beforehand to ensure that your helmet will be properly protected from the elements.
What is the Best Way to Paint a Motorcycle Helmet?
There are a few different ways that you can paint a motorcycle helmet, but we think the best way is to use an airbrush. Here’s a step-by-step guide on how to do it:
1. Make sure your helmet is clean and free of any dirt or debris.
You’ll also want to make sure it’s dry before you start painting.
2. Decide on the design or colors you want to use for your helmet. Once you have an idea, sketch it out on paper so you have a reference when you start painting.
3. Choose the right type of paint for your project. We recommend using enamel paint because it will hold up well against weather and wear and tear. Plus, it’s easy to work with and dries quickly.
4. Get your airbrush ready by filling it with paint and testing it on a piece of scrap paper or cardboard first. This will help you get a feel for how the airbrush works and how much pressure you need to use when painting your helmet.
5 .
When you’re ready, start painting!
How Can I Paint My Helmet at Home?
There are a few things you need to do in order to paint your helmet at home. First, you need to clean the surface of the helmet with soapy water and a sponge. Next, you will need to sand the helmet down with fine-grit sandpaper.
Once the helmet is sanded, you will need to apply a primer before painting. After the primer is dry, you can start painting your helmet with any kind of paint that you want. Just make sure that the paint is meant for plastic surfaces.
How I spray paint a motorcycle helmet || octopus painting
Which Paint to Use on Helmet
Are you looking to add a little personality to your motorcycle helmet? Or maybe you want to make it look more stylish and unique. Whatever the reason, painting your helmet is a great way to do that.
But before you start, there are a few things you need to know.
First of all, not all paints are created equal. You’ll want to use a paint that is specifically designed for use on helmets.
These paints are usually made with polyurethane or urethane resins, which provide durability and resistance to chipping and fading.
You’ll also want to make sure that the paint you choose is compatible with the type of helmet you have. For example, if you have a fiberglass helmet, you’ll need to use a water-based paint.
If your helmet is made of plastic, however, you can use either a water-based or an oil-based paint.
Once you’ve chosen the right paint for your helmet, it’s time to get started! Here’s what you’ll need:
-A clean work surface
-Masking tape
-Newspaper or drop cloths (to protect your work surface)
-Painter’s tape (for creating clean lines)
-A primer (optional but recommended)
-Your chosen paint
-Paintbrushes
-A clear coat sealer (also optional but recommended)
Start by preparing your work surface and gathering all of your materials. Then, clean your helmet thoroughly with soap and water (or rubbing alcohol). This will help the paint adhere better. Next, use masking tape and newspaper or drop cloths to cover up any areas of your helmet that you don’t want painted.
Now it’s time to start painting! If you’re using a primer, apply it first according to the manufacturer’s instructions. Once the primer is dry, begin painting your design with your chosen paint color(s). Use painters tape if desired for clean lines. Allow the paint to dry completely before moving on to the next step.
Finally, once everything is dry, apply a clear coat sealer over top if desired. This will help protect your newly painted helmet from scratches and wear and tear.
Conclusion
Are you looking to add a personal touch to your motorcycle helmet? Or maybe you want to give an old helmet a new look. Whatever the reason, painting your own motorcycle helmet is a great way to create a one-of-a-kind piece of gear.
Here are some tips on how to paint a motorcycle helmet:
1. Choose the right type of paint. You’ll need to use a special type of paint that is made for plastic and won’t damage the material.
Make sure to get primer and clear coat as well so that your design will be protected from the elements.
2. Prep the surface. Clean the helmet with soap and water before you start painting.
This will help the paint adhere better. If there are any areas that need to be sanded down, do that now too.
3. Tape off any areas you don’t want painted.
This includes the visor, straps, and padding inside the helmet. Use painters tape or masking tape so that you have clean lines when you remove it later on.
4 .
Paint away! Get creative with your design and have fun with it! Remember to let each layer of paint dry completely before adding another one on top.
5 . Seal it up . Once you’re happy with your design, apply a few coats of clear coat over top . This will protect your work and make it shine !