There are a few things you need to know before you start drawing a motorcycle helmet. The first is what kind of helmet it is that you want to draw. There are three main types of helmets- full face, ¾, and ½.
Each one has a different look and feel, so it’s important to decide which one you want to draw before you start. Once you have the basic idea of the helmet type down, it’s time to move on to the next step: sketching out the basic shape of the helmet.
When sketching out the basic shape of the helmet, it’s important to keep in mind the different proportions of each type of helmet.
For example, a full face helmet will have a larger visor area than a ¾ or ½ helmet. Once you have the basic proportions worked out, you can start refining your sketch by adding details like vents, straps, and other features.
Once you have your sketch refined and all the details added in, it’s time to start thinking about color.
Motorcycle helmets come in all sorts of colors and designs, so there’s no shortage of options here. You can go with a classic black or white design, or go for something more eye-catching like a bright red or blue. When choosing colors for your design, just make sure they work well together and don’t clash too much.
With your colors chosen, it’s finally time to start painting! Begin by painting in the base colors for your design using thin layers of paint. Once those base colors are dry, you can start adding in some lighter highlights or darker shadows if desired.
And that’s all there is to it!
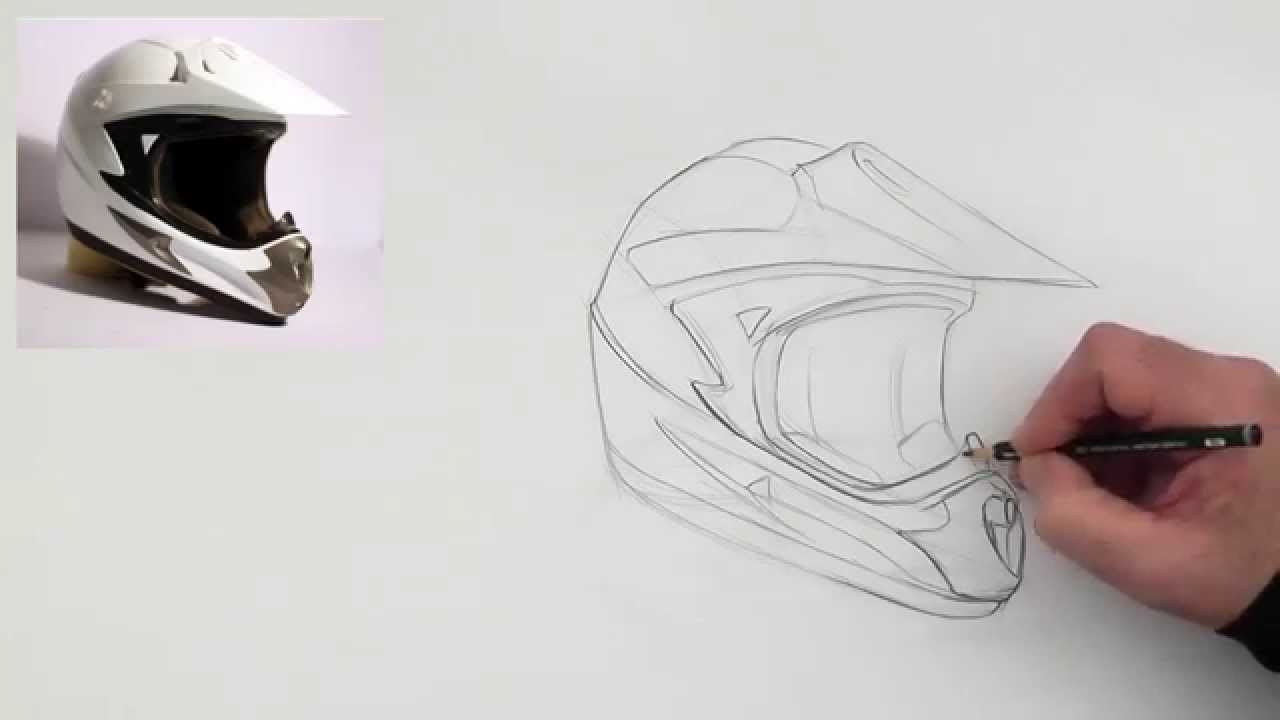
- Draw a basic outline of the helmet shape with a pencil on paper
- Next, begin to fill in the details of the helmet, such as the visor, straps, and ventilation holes
- Once the basic details are in place, start to add shadows and highlights to give the helmet some dimension and realism
- Use a darker pencil or pen for the shadows and a lighter pencil or pen for the highlights
- Finally, erase any remaining pencil lines and you’re done!
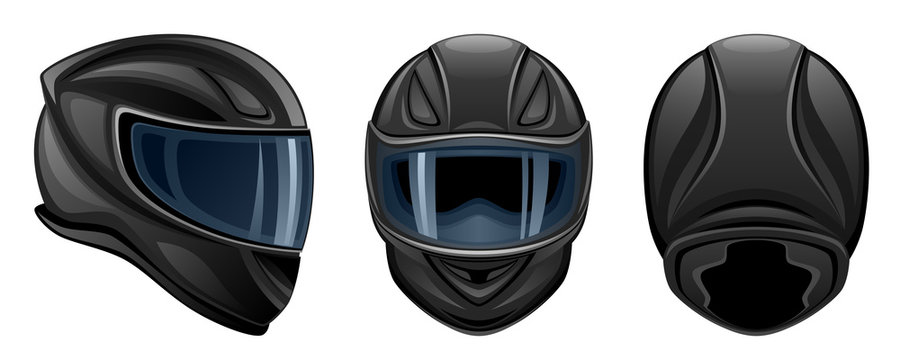
Credit: stock.adobe.com
How Do You Draw a Easy Bike Helmet?
Assuming you would like a step-by-step guide on how to draw a basic bike helmet:
1. Begin by drawing a oval shape for the helmet. This can be done freehand or by using a light pencil sketch to outline the shape first.
2. Next, add straps coming down from the top of the oval and meeting in the middle at a point. These straps will help keep the helmet in place while riding.
3. To finish off the design, add vents along the sides of the helmet and an optional visor at the front.
Vents are important for keeping cool while riding and Visors can help shield your eyes from sun or debris.
How Do You Draw a Helmet for a Helmet?
Assuming you would like instructions on how to draw a helmet:
Start by drawing a basic oval shape for the top of the helmet. Then, add a curved line across the oval about two-thirds of the way down.
This will be the edge of the visor. Next, draw lines coming down from the top of the oval on either side to create the sides of the helmet. Finally, add straps or other details as desired.
How Do You Make a Dirt Bike Helmet Video?
If you’ve ever wondered how the pros make those amazing dirt bike helmet videos, wonder no more! We’ll give you a step-by-step guide on how to make your own.
First, you’ll need to gather your equipment.
You’ll need a camera that can mount to your helmet, as well as a microphone and headphones so you can communicate with your videographer. Next, it’s time to plan your shots. Think about what kind of footage you want to capture and map out a rough plan for where you’ll be riding.
Once you have your equipment and plan ready, it’s time to hit the trails! As you ride, keep an eye on the camera and make sure everything is recording properly. If things start to get shaky, don’t worry – that’s all part of the fun!
When you’re done riding for the day, transfer your footage onto your computer and start editing! This is where you’ll really get creative and put together an awesome video that will wow viewers. Add some music, trim down any boring parts, and add in any special effects or graphics that you want.
With a little bit of practice, anyone can create an amazing dirt bike helmet video! So get out there and start filming – we can’t wait to see what you come up with.
What is the Easiest Way to Draw a Motorcycle?
Assuming you would like tips on how to draw a motorcycle:
Start by sketching out the general shape of the motorcycle. Next, add the wheels and tires.
Then, draw the seat, gas tank, and handlebars. Finally, add any final details like the headlight, exhaust pipes, and mirrors.
How to draw a motorcycle helmet
How to Draw a Helmet
Assuming you would like a blog post about how to draw a motorcycle helmet:
A motorcycle helmet is one of the most important pieces of gear for a rider. Not only does it protect your head in the event of an accident, but it also helps reduce wind noise and can make riding more comfortable.
When choosing a helmet, it’s important to find one that fits well and is comfortable to wear. In this article, we’ll show you how to draw a motorcycle helmet that looks realistic and stylish.
When drawing a motorcycle helmet, start by sketching out the basic shape of the helmet.
Next, add details like the visor, vents, straps, and other features. Be sure to make these details look realistic by adding shadows and highlights. Finally, color in your drawing or paint it to give it some extra flair.
With these tips in mind, anyone can create an impressive drawing of a motorcycle helmet!
Conclusion
Assuming you would like a summary of the blog post titled “How to Draw a Motorcycle Helmet”:
The blog post begins by discussing why drawing a motorcycle helmet can be difficult- they are often intricate and have many different parts. However, the author provides a step-by-step guide on how to draw one, beginning with the outline of the helmet.
Next, the visor is added followed by the straps. The details such as vents and decals are drawn last. The blog post ends with a few tips on making your drawing look more realistic.